« A smile is the prettiest thing you can wear. » — Unknown
The Science Behind Professional Teeth Whitening
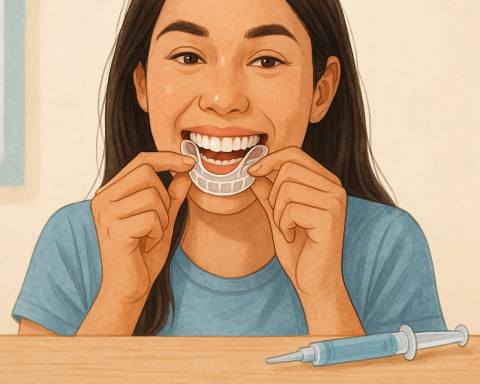
If you’ve ever scrolled through TikTok or Instagram and seen flawless, glowing white smiles, you’ve probably wondered: how do they get their teeth that white? The truth is, while whitening strips and charcoal toothpaste can help with surface stains, nothing quite compares to the effectiveness of professional teeth whitening. This cosmetic dental procedure is a powerful tool designed to give you rapid, safe, and noticeable results under the supervision of a qualified dentist.
Understanding Why Teeth Discolor
Before diving into the whitening process, it helps to understand why teeth lose their brightness:
- Extrinsic stains: These are surface-level stains caused by external factors like red wine, coffee, tobacco use, and certain foods like tomato sauce or berries.
- Intrinsic stains: These occur deeper inside the tooth and may result from aging, medications, trauma, or excessive fluoride exposure.
While some whitening toothpaste and over-the-counter products address surface stains, professional whitening procedures target both extrinsic and intrinsic stains, leading to a far more dramatic transformation.
The Active Ingredients: Hydrogen Peroxide & Carbamide Peroxide
At the heart of most professional teeth whitening treatments are two active ingredients:
- Hydrogen peroxide
- Carbamide peroxide
Both are bleaching agents that penetrate the enamel and break down the colored molecules that cause discoloration. While hydrogen peroxide works faster due to its higher potency, carbamide peroxide breaks down more slowly and is often used in take-home kits.
Hydrogen Peroxide
- Common in in-office procedures
- Typically used at higher concentrations (15–40%)
- Provides quicker whiter teeth in a single visit
- Effective for both surface stains and deeper intrinsic stains
Carbamide Peroxide
- Often used for at-home kits provided by your dentist
- Breaks down into hydrogen peroxide and urea over time
- Lower concentrations (10–22%) but longer wear time
- Gentler on tooth sensitivity
Both are endorsed by the American Dental Association (ADA) when administered correctly. This professional oversight is key to minimizing side effects like gum irritation or tooth sensitivity, which many experience with over-the-counter products or improper use.
Why Professional Whitening Is the Best Choice
While whitening strips, whitening toothpaste, or home kits may promise a bright smile, they often lack the strength and safety protocols offered by your dentist’s office. The whitening solution used professionally is customized for your specific case, ensuring optimal whitening results without unnecessary risk to your tooth enamel or gum health.
Professional treatment also allows for:
- Stronger concentrations of whitening gel
- Faster treatment times with light or laser activation
- Supervision by trained dental professionals
- Lower risk of long-term tooth sensitivity
When performed correctly, professional teeth whitening is safe, highly effective, and long-lasting, often brightening teeth by several shades in just one visit.
The Preparation Phase — What Happens Before Your Whitening Session
« By failing to prepare, you are preparing to fail. » — Benjamin Franklin
Many people think that teeth whitening is simply a matter of applying some gel and watching your teeth magically turn several shades whiter. In reality, professional teeth whitening involves a carefully structured step-by-step guide where preparation is just as important as the whitening procedure itself. Before your first whitening appointment at a dental office, several critical steps are taken to ensure the best possible whitening results, minimize side effects, and protect your oral health.
Step 1: Comprehensive Dental Exam
Before any whitening can begin, your dentist will conduct a thorough dental exam to assess your overall dental health and make sure you’re a good candidate for the procedure.
They will evaluate:
- Existing dental restorations (crowns, veneers, fillings won’t respond to whitening)
- The thickness and condition of your tooth enamel
- Presence of gum disease, tooth decay, or gum irritation
- Current levels of tooth sensitivity
If any oral health issues are discovered, your dentist will likely recommend treating them before beginning the whitening process.
Step 2: Professional Cleaning
Next, your dental hygienist will perform a full teeth cleaning. This step is crucial because plaque, tartar, and food particles can block the whitening solution from reaching the full tooth surface, limiting the effectiveness of the treatment.
A clean surface ensures that:
- The bleaching product penetrates evenly
- Stains are not being masked by buildup
- You achieve the most uniform tooth shade possible
Step 3: Customized Whitening Plan
There is no one-size-fits-all approach to professional teeth whitening. Based on your initial evaluation, your dentist will create a plan tailored to your needs:
- Type of stains: Intrinsic stains may require stronger formulations or multiple sessions.
- Severity of discoloration: Heavier staining may need higher concentrations of bleaching agent like hydrogen peroxide or carbamide peroxide.
- Your personal goals: Whether you’re after a Hollywood-level bright smile or a more natural look, your dentist will adjust accordingly.
Step 4: Pre-Treatment Sensitivity Management
If you have sensitive teeth, your dentist may recommend a pre-treatment plan:
- Use a desensitizing toothpaste containing potassium nitrate and fluoride.
- Possibly apply fluoride gels to strengthen enamel and reduce sensitivity.
- Avoid acidic foods and drinks that may exacerbate sensitivity before treatment.
This extra precaution can help reduce tooth sensitivity after whitening, which is one of the most common side effects.
Step 5: Diet & Lifestyle Adjustments
In the days leading up to your appointment, you’ll likely be advised to avoid:
- Red wine, coffee, and tomato sauce (major stain culprits)
- Tobacco use, which can cause deep intrinsic stains
- Dark-colored sodas or juices that easily stain
Following these guidelines allows your whitening procedure to begin with your teeth in their cleanest, most stain-free state, ensuring better results during treatment.
Step 6: Understanding the Realistic Outcome
While professional teeth whitening is highly effective, it’s important to enter the process with realistic expectations. The degree of improvement depends on:
- Your natural teeth color
- The outer layer of your teeth (enamel thickness)
- The strength of the whitening agent used
- The severity of existing stains
Typically, most patients see their teeth lighten by 6–8 shades, but not everyone will achieve a « Hollywood white. » Your dentist will guide you toward the best choice based on your oral health and aesthetic goals.
The In-Office Whitening Procedure — What Happens During Treatment?
« The best preparation for tomorrow is doing your best today. » — H. Jackson Brown, Jr.
When the day finally arrives for your professional teeth whitening appointment, you can rest easy knowing you’re in expert hands. While over-the-counter products like whitening strips may offer convenience, nothing matches the efficiency, safety, and dramatic results of an in-office procedure. Here’s a full breakdown of what happens during your whitening session so you know exactly what to expect.
The First Step: Initial Tooth Shade Evaluation
Before applying any whitening solution, your dental professional will document the current color of your teeth using a shade guide. This ensures you both have a clear starting point and provides an accurate way to track your progress toward achieving a brighter smile.
Your dentist will also verify that your teeth and gums are in good condition before proceeding, double-checking for any changes since your initial dental exam.
The Second Step: Gum and Soft Tissue Protection
Because the whitening product used contains high concentrations of hydrogen peroxide (often 15% to 40%), it’s critical to protect your gums, lips, and soft tissues from irritation or chemical burns.
Your dentist will:
- Insert cheek retractors to expose your teeth.
- Apply a protective barrier gel to your gums.
- Use gauze or shields to cover lips and other soft tissues.
This careful preparation ensures that only your teeth come into contact with the bleaching solution, reducing the risk of gum irritation.
The Third Step: Application of the Whitening Gel
Once protected, your dentist will carefully apply the whitening gel directly to the tooth surface. The active ingredient—typically hydrogen peroxide or carbamide peroxide—works by penetrating the enamel and breaking down stain molecules through oxidation.
Because of its potency, the concentration of the bleaching agent used in-office can safely deliver better results in less time than home treatments.
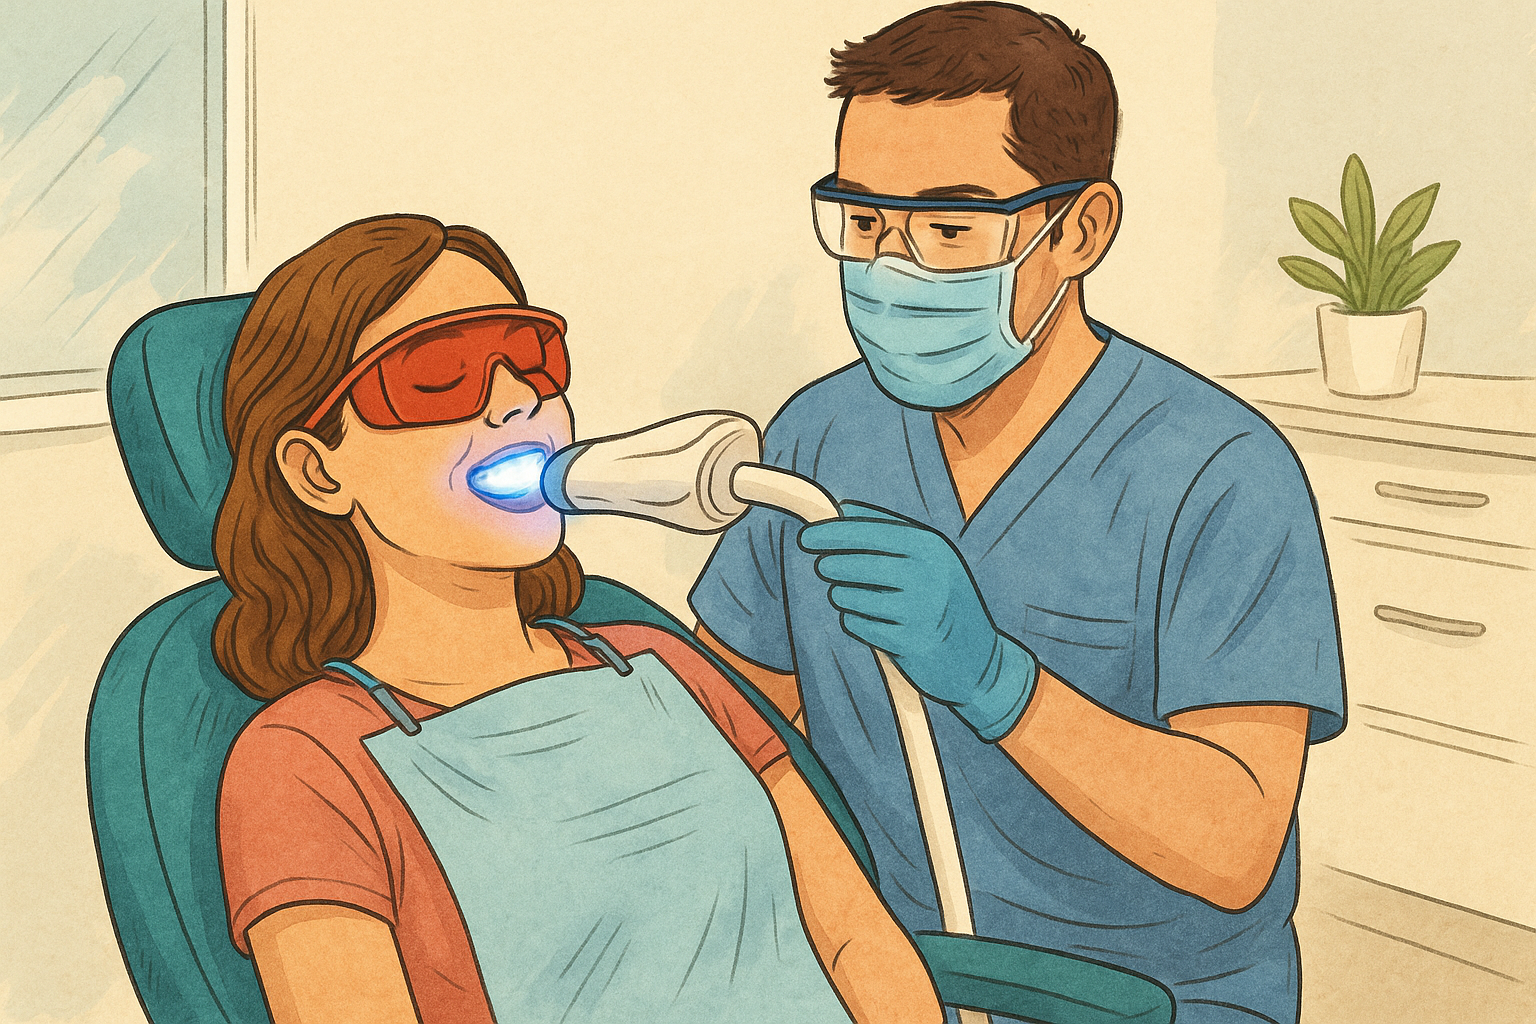
The Fourth Step: Activation with Light or Laser
To speed up the whitening process and enhance the effectiveness of the whitening product, many dentists use:
- Laser light
- LED lamps
- Specialized Zoom light technology
These light sources activate the bleaching product, encouraging faster breakdown of stain molecules and accelerating the whitening effect. Depending on the system used, the light may shine on your teeth for 15 to 30 minutes at a time.
The Fifth Step: Monitoring and Multiple Applications
Throughout the session, your dentist will monitor your progress carefully:
- After each round (typically 15–30 minutes), the gel is removed and your teeth are rinsed.
- Your tooth shade is re-evaluated.
- The process may be repeated 2–3 times during the same visit to maximize whitening results while minimizing tooth sensitivity.
The total treatment time for an in-office procedure typically ranges from 60 to 90 minutes.
The Sixth Step: Post-Treatment Fluoride Application (Optional)
If you’re prone to sensitive teeth, your dentist may apply a fluoride gel or desensitizing agent after treatment to reduce any potential side effects such as:
- Temporary tooth sensitivity
- Minor gum irritation
- Slight tingling sensations in the teeth for 24-48 hours
These symptoms are typically mild and short-lived, especially under professional care.
The Final Results: A Whiter, Brighter Smile
Immediately after your session, you’ll notice your tooth shade has lightened significantly—often by 6 to 8 shades. The full final results may become even more noticeable over the following 24 to 72 hours as your teeth stabilize and fully absorb the effects of the whitening treatment.
Thanks to the power of professional teeth whitening, your dazzling smile is now reality.
Post-Whitening Care and Long-Term Maintenance
« An ounce of prevention is worth a pound of cure. » — Benjamin Franklin
Congratulations — you’ve successfully completed your professional teeth whitening procedure! But achieving that bright smile is only part of the journey. The next phase is just as important: maintaining your results for as long as possible while keeping your oral health in peak condition.
Without proper care, daily habits, foods, and lifestyle choices can gradually reintroduce surface stains and compromise your newly whiter teeth. Thankfully, following the right step-by-step guide for maintenance can help you enjoy your results for months—or even years—to come.
The First 48 Hours: The « White Diet » Phase
Immediately after your whitening procedure, your teeth are more porous and susceptible to staining. The enamel’s outer layer has been slightly dehydrated, making it easier for pigments to settle into the microscopic pores of your tooth surface.
For the first 24–48 hours, dentists strongly recommend following the white diet:
- Stick to light-colored, non-staining foods: chicken breast, rice, pasta, cauliflower, bananas, and milk.
- Avoid any food or drink that would stain a white t-shirt:
- Red wine
- Tomato sauce
- Coffee, tea, dark sodas
- Berries and colored sports drinks
- Curry and soy sauce
- Avoid tobacco use entirely, as it’s one of the worst offenders for re-staining.
This crucial window sets the stage for how long your whitening results will last.
Good Oral Hygiene: The Foundation of Long-Term Success
To maintain your white teeth, strong oral hygiene habits are essential:
- Brush at least twice daily using a fluoride-based whitening toothpaste designed for sensitive teeth.
- Floss daily to remove stain-causing plaque and prevent food particles from settling between teeth.
- Use alcohol-free mouthwash to avoid drying out your mouth.
- Schedule regular professional cleanings with your dental hygienist every 6 months.
Maintaining good oral hygiene doesn’t just preserve your bright smile; it also protects against gum disease, cavities, and enamel erosion—all of which could affect your future eligibility for touch-up whitening procedures.
At-Home Whitening Kits for Maintenance
Many dentists offer professional take-home whitening kits to help maintain your results between office visits. These typically include:
- Custom trays molded to fit your teeth perfectly.
- Lower concentrations of carbamide peroxide (10–22%) to gently refresh your smile.
- Short daily wear times (30 minutes to a few hours, depending on the formulation).
Because these home kits contain lower concentrations than your initial in-office treatment, they offer a safe, controlled way to touch up your tooth shade without significant tooth sensitivity or gum irritation.
Long-Term Lifestyle Changes for a Brighter Smile
Beyond daily care, certain lifestyle adjustments will dramatically prolong the life of your professional teeth whitening:
- Limit stain-inducing foods and beverages as much as possible.
- Drink dark beverages through a straw to minimize contact with teeth.
- Rinse your mouth with water after consuming staining foods or drinks.
- If you’re a smoker, quitting will vastly extend your whitening results and boost your overall oral health.
Some patients also benefit from periodic in-office procedures or short maintenance treatments every 1–2 years depending on lifestyle, diet, and natural tooth color changes.
Recognizing When to Return for a Touch-Up
Even with excellent care, teeth may gradually return to a slightly darker shade over time due to natural factors such as aging and enamel thinning. Here are signs you may be due for a touch-up:
- Noticeable dulling of brightness after 1–2 years
- Increased intrinsic stains from lifestyle factors
- Changes in tooth shade compared to previous photos
Regular dental exams provide the perfect opportunity for your dentist’s office to assess whether another whitening procedure is right for you.
Balancing Cosmetic Goals with Oral Health
While it’s exciting to maintain a dazzling smile, always prioritize your dental health:
- Don’t overuse whitening products without professional supervision.
- Avoid constant re-whitening, which can lead to enamel thinning.
- Consult your dentist before trying at-home teeth whitening kits, including crest whitestrips or charcoal toothpaste.
When done responsibly, professional teeth whitening remains one of the safest, most effective, and most rewarding cosmetic dental procedures available today.